

If you don't have the budget to go to a salon for a lash lift, then you can do your lash lift at home, all you need are the right tools, products,and techniques. There are 6 basic steps you need to master for a successful at-home lash lift.
The fundamental procedures for performing a lash lift at home include 1) choosing the appropriate kit, 2) evaluating and cleansing the lashes, 3) selecting and affixing the shields, 4) administering the lifting solution, 5) applying the setting solution, and 6) conditioning the lashes.
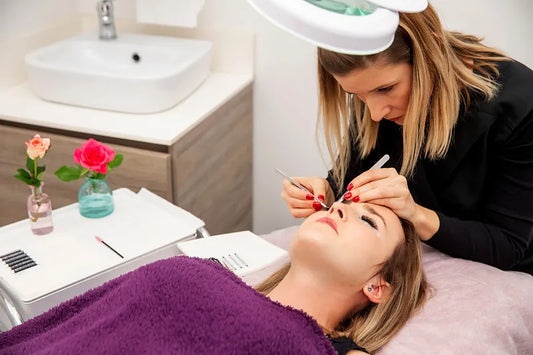
When it comes to performing a lash lift, it is crucial to have a thorough understanding of the process as it involves the use of sharp tools and chemicals near the delicate eye area. Whether you opt for a professional salon or decide to do it yourself at home, it is essential not to take any risks with this beauty procedure. If you are seeking guidance from someone experienced in lash lifts, who has honed their skills over a decade, then you have come to the right destination!
Continue scrolling for a detailed, step-by-step tutorial on how to perform lash lifts in the comfort of your own home. This comprehensive guide is filled with professional advice and common pitfalls to steer clear of.

How to Perform an Eyelash Lift at Home?(Step-by-Step)
Step #1: Choose the right lash lift kit for you
Step #2: Clean your lashes
Step #3: Select and install the pads
Step #4: Apply Lash Softener
Step #5: Apply Lash Definer
Step #6: Condition lashes and apply nutrition
Essential knowledge! At-home lash lift kits come with various products and instructions, yet the majority encompass six fundamental steps that I will outline in this article.
Step #1: Choose the right lash lift kit for you
There are various options available for at-home lash lift kits, ranging from basic to luxurious.
Here are the essential items your kit should include, along with some additional extras that you will likely find beneficial:
Lash Enhancement Kit Essentials
These are the Lash Lift Kit Essentials:
- At least 3 different sizes of silicone shields for eyelashes
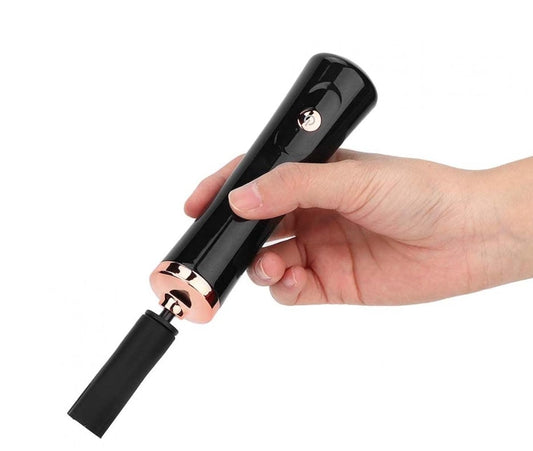
- Eyelash Applicator
- Eyelash lifting glue
- Eyelash softener (to soften lashes)
- Lash Definer (to hold the shape of the lashes)
- Clear and easy-to-understand instructions for use
Eyelash Enhancement Kit Add-ons
The following are useful add-ons to the Eyelash Lift Kit:
- Under-eye gel patches (for attaching lower lashes, or protecting the delicate spots around our eyes)
- Y-comb (a lash-lifting tool with fine teeth to help you comb through your lashes)
- Volume brush (used for steps such as cleaning your lashes and applying moisturizer)
- Glue ring
- Nourishing, moisturizing, or strengthening treatment products

Safety tip!
Perform a patch test to minimize the chances of experiencing an adverse reaction during the procedure. Apply a small amount of the lash lift products on the arm and observe the area for any signs of irritation over 48 hours.
Step #2: Clean your lashes
Most lash lift kits on the market specify a minimum amount of time for the lash softener to remain on the lashes (see step 4 for more details).
Do you have slightly curled lashes and fine hair? They just need to follow the shortest
Do you have thick, super-straight lashes? These thick lashes need to be treated for an extended period
Once you've learned about the type of lash lift and have chosen the curvature of your lash protector pads, then you can start cleaning your lashes! Lash lifts only work on clean lashes, so you'll want to west wash away so dirt and oil. Then blow dry your lashes with a mini fan and you're ready for the lash lift step.

Step #3: Select and install the pads
The choice of shield you use can determine the success or failure of your lash lift. Opting for a shield that is too small may result in excessive lifting of the lashes. Conversely, selecting a shield that is too large may cause the lashes to lack volume and impact.

Here's a simple way to discover the perfect shield for that ideal lift of your lashes.
- Position the adhesive-free shield along the lash line and gently brush the lashes over the shield.
- Choosing the appropriate size will ensure that the lashes cover approximately 70% of the shield. When you apply glue to the lashes and attach them to the shield, they will naturally stretch to reach nearly the end.
- If the lashes extend beyond 70% of the shield, it indicates that you should opt for a larger size. On the other hand, if the lashes only reach halfway or less across the shield, it suggests that a smaller size is required.
Take the appropriately sized shield and apply adhesive on its back. Place it directly against the lash line, ensuring that no part of the lashes is covered. Proceed to attach the lashes onto the shield, section by section. While brushing the lashes against the shield, make sure they remain straight, separate from each other, and firmly attached.
Tips
Avoid applying an excessive amount of adhesive, as it may hinder the effectiveness of the lifting solution. Additionally, ensure to securely seal the lid once you have finished using the glue to maintain its freshness for an extended period.
Step #4: Apply Lash softener
Afterward, gently apply the softening solution onto the lashes and allow it sufficient time to take effect. The duration for which you keep the solution on will vary based on the kit you are using and the type of lashes you are lifting. It is important to keep in mind that lashes that are strong, thick, and straight require a longer processing time.

This lash conditioner enhances the softness and flexibility of lashes, resulting in a natural curvature that mimics the lash pad's shape. The result is a stunning lift and flirtatious curl for your lashes.
Tips
The concept is to elevate lashes starting from their base, giving the illusion of length. Achieving this can be done by carefully applying the conditioning solution as near to the roots of the lashes as feasible – maintaining a steady hand to prevent any contact with the skin. Additionally, ensure the solution is evenly distributed across all lashes, focusing only on approximately one-third of the lash length, starting from the root upwards (leaving the tips untouched).
Step #5: Apply Lash Fixation
Take a close look at the lashes. This is your final opportunity to correct any lashes that are clumped together, crossing over each other, or bent. Once you apply the Lash Fixation, their destiny is determined for the next 2 months. (However, it is possible to rectify a lash lift gone awry.) The Lash Fixation solidifies the lashes, ensuring their newly formed shape.
Once you are confident that the lashes are in the ideal position, proceed to apply the Lash Fixation from the base to approximately one-third of the length of the lashes.
Allow the fixation to sit for the suggested duration, and subsequently, eliminate it.
Step #6: Condition lashes and apply nutrition
Lash lift products have the potential to dehydrate your lashes, hence it is crucial to restore moisture in the final stage. To rejuvenate your lashes, you can utilize a moisturizing and nourishing treatment product, which may be provided in the kit, to bring them back to their optimal condition.
Afterward, release the eyelashes from the protective shield, detach the shield from the eyelid, softly stroke the lashes with a fresh mascara brush, and appreciate the outcome!

Lift Lash at Home - Summary
With the appropriate lash lift equipment, products, and methods, you can achieve stunning lash lift enhancements no matter where you are.
To excel in lash lifting, it is crucial to possess the knowledge of locating a comprehensive kit that includes all essential components, distinguishing various lash types, selecting the appropriate shield size, and skillfully attaching it. Additionally, one must be proficient in applying the softening and setting solutions, as well as properly conditioning the lashes. Once you have mastered these fundamental procedures, there will be no obstacles preventing you from creating enchanting lash lift results!